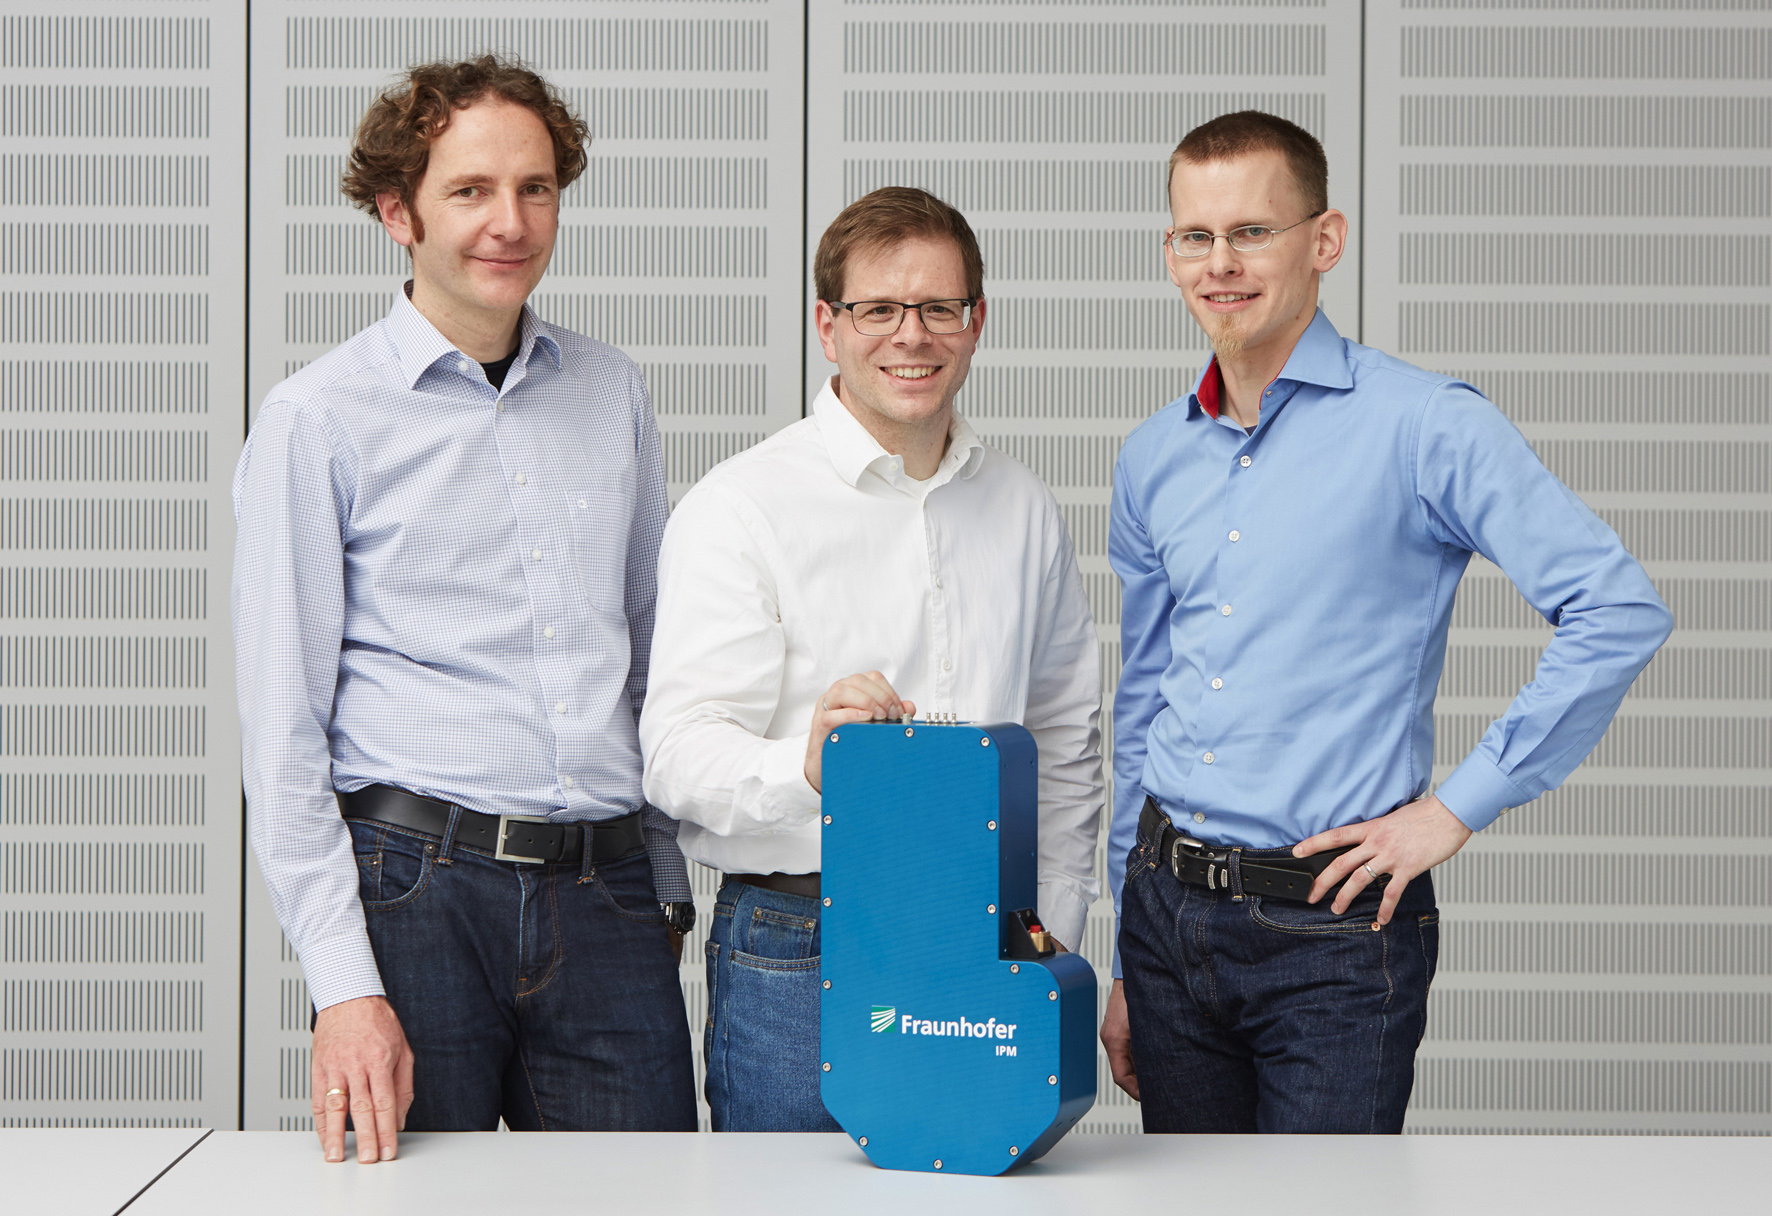
Joseph von Fraunhofer award 2017
Holographic measurement technology at production speed
Fault tolerance in automobile production is increasingly diminishing. Until recently, this presented suppliers with a problem: There were no sufficient methods for detecting micro defects during production. Visual inspection was the solution of choice, but this is not suitable for in-line measurements in the production process. By developing digital holography to become suitable for production, researchers at Fraunhofer IPM have resolved this dilemma. Digital holography makes it possible to fully inspect all parts – in a matter of seconds.


Sometimes every thousandth of a millimeter counts – such as with components for the automotive or aviation industry. In order to determine whether the individual component is fault-free and dimensionally stable, digital holography would be the method of choice. However, this method has so far been slow and sensitive to vibrations. It was therefore not suitable for production environments, and only samples could be tested.
Fast, solid results
Three researchers from the Fraunhofer IPM – Dr. Markus Fratz, Dr. Alexander Bertz and Dr. Tobias Beckmann – have now brought the process of digital holography out of the laboratory and into the production hall. "We have been able to eliminate all the disadvantages and have therefore, for the first time, developed a system that allows one hundred percent inspection in production," says Beckmann, who heads the project together with Fratz. "Our system can measure centimeter-sized rough objects in fractions of a second with micrometer accuracy, thereby compensating for disturbances, such as vibrations." This allows for in-line measurements during the production process for the first time. Instead of taking samples, as before, each individual part can therefore be checked for dimensional accuracy and, at the same time, for the smallest defects. The challenge the three researchers faced was anything but easy to solve. "The search for defects is like trying to measure the shape of a 25-meter-high football stadium from a height of 300 meters so accurately that you can find the footprint of a baby in the grass – and in fractions of a second, even if the stadium is shaken by a light earthquake," Fratz explains.
Laser waves of different wavelengths and intelligent algorithms
But how did the researchers manage to succeed? Instead of interferometrically measuring the object with laser light only at a single wavelength, they illuminate it successively with laser beams of different wavelengths and assess the resulting images in relation to one another. Another highlight is the evaluation algorithms. The researchers have parallelized them so as to take full advantage of the performance of a high-end graphics card. As a result, the system is so fast that it can precisely measure objects to the micrometer within fractions of a second. "For highly accurate three-dimensional measurements, our system is the fastest available on the market worldwide," says Bertz, Group Manager at the Fraunhofer IPM. This speed, in turn, makes the system robust and comparatively insensitive to interferences such as vibrations. This is comparable to taking a photograph: the shorter the exposure time, the less the image blurs.
Production without risk
For Werner Giessler GmbH – a medium-sized company that manufactures components for diesel injection systems – the process was a kind of salvation. From its customer, Bosch, the company was commissioned to start delivering 10 million components per year instead of the previous 6.5 million, and all without a single defective part. With visual inspection, this would have been impossible. With the help of digital holography, though, the medium-sized company was able to accept the contract. "I’m not enough of a risk taker to do without this technology," says Managing Director Thomas Giessler. "Companies that have not learned to inspect the quality of their parts will soon disappear." The system is already integrated into the production process. Dr. Markus Fratz, Dr. Alexander Bertz and Dr. Tobias Beckmann have received the Joseph von Fraunhofer award for the development of production-ready digital holography. The jury justifies the award by mentioning, among other things, "the outstanding scientific work and the first-time presentation of the industrial suitability of the process".