Strain measurement – faster and more versatile than ever
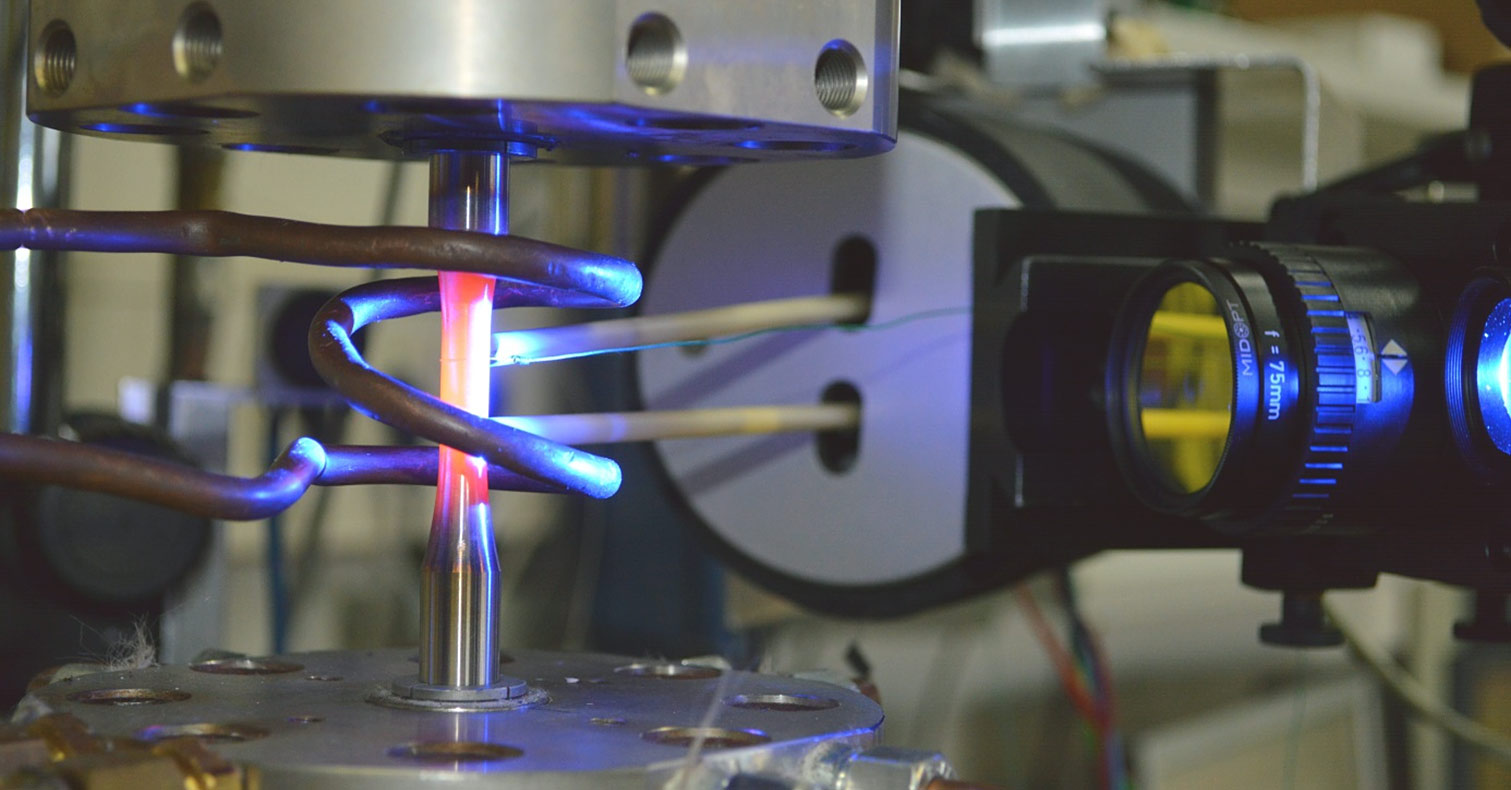
Fraunhofer IPM has partnered with Fraunhofer IWM to develop a new strain measurement system that combines the advantages of optical and mechanical measuring procedures and dramatically accelerates materials testing. This makes the new system a multifaceted tool for quickly performing material tests. The measurement system will be presented at the 8th International Conference on Low Cycle Fatigue LCF8 in Dresden from June 27–29, 2017.
Innovative materials are improving the function of components, machines and systems, and expanding their areas of application. This is particularly evident in relatively new industries such as lightweight construction. However, components based on new materials must also be reassessed in order to ensure the strength and safety of the final product. To evaluate the mechanical properties and service life, investigators turn to methods such as fatigue tests under cyclic loading. But this measurement takes time, with the test typically lasting anywhere from several hours to several days. Now scientists at Fraunhofer IPM and Fraunhofer IWM have succeeded in reducing test times for non-contact, strain-controlled fatigue tests by a factor of ten.
No contact or markings needed
Optical strain measurements are always contactless and thus do not slip. The measurements not only determine the average strain between two points, they also allow for imaging analysis, thereby enabling, for example, the cause of material failure to be analyzed after the fact. While these advantages also apply to the standard optical systems available today, such systems have thus far come with a significant disadvantage – their slow measuring speed. Previously, contact extensometers were needed in order to achieve short measuring times in fatigue tests. However, the necessary contact pressure distorts the results with respect to plastic deformation – especially in lightweight construction materials or at high temperatures. Now advanced image processing technologies are making it possible to combine the advantages of contact and optical extensometers for the very first time. Thanks to fast, high-resolution cameras that reliably record microstructures, even on polished samples, complicated sample preparation with markers is a thing of the past. At the same time, measurement accuracy is improving, as all of the characteristics of the microstructure are analyzed to measure displacement.
Real-time evaluation at 1000 Hz
While state-of-the-art cameras can record the microstructure of a workpiece surface more than 1000 times per second, conventional processors can only evaluate approximately 200 computationally intensive image correlations per second. Only by parallelizing image evaluation on graphics cards is it possible to measure strain at over 1000 Hz – without the slippage limitations of contact extensometers. The measurement accuracy of the new Fraunhofer strain measurement system meets the requirements of the 0.5 class in accordance with DIN ISO 9513. The size of the field of view can be adjusted to suit the test procedure, thereby allowing the real-time evaluation of strain-controlled tests in the micro and macro range.
