Track & Trace Fingerprint
Component traceability facilitates cross-process quality control
Industrial production processes can only be optimized if components can be tracked and traced from production to the point of integration into an assembly. Through the “ProIQ” project, Fraunhofer IPM has joined forces with partners from the fields of industry and research to develop technologies for adaptive production of precision components. To this end, the Track & Trace Fingerprint method has been extended with a view to tracking and tracing rotationally symmetrical objects.

Continuously checking the quality of precision components throughout the entire production process is no small task. Components are often manufactured or processed across plant or company boundaries. Many components are only a few millimeters in size, and their geometries are complex. The manufacturing tolerances are often only a few micrometers.
Optical 3D measurement techniques can detect geometry or surface defects during production. However, if you want to learn from recurring errors, you have to be able to use measurement data intelligently and be able to assign it to individual components at every point in the production process. Component tracking and tracing is a prerequisite for this. The consortium has demonstrated that such adaptive production of precision components is possible using the examples of a high-performance injector component and a head shaft for a delicate dental instrument.
Tracking and tracing of rotationally symmetrical precision parts
Bar codes or data matrix codes are the usual methods used to track and trace products. However, precision parts do not have the necessary space for such markings. The marker-free Track & Trace Fingerprint method developed by Fraunhofer IPM uses the component’s individual surface microstructure for identification. A camera captures a high-resolution image of a defined area of the component’s surface. The specific structural patterns captured in the image and the way in which they are positioned are used to generate a numerical code, the fingerprint, and pair it with an ID. This pairing of component ID and fingerprint is recorded in a database. This process can be repeated to identify the component at a later date by matching the fingerprint and returning the ID code.
In the “ProIQ” project, the technology has been used for rotationally symmetrical objects for the first time. The challenge is that the fingerprint area must be positioned precisely for identification to work. With rectangular components, slight inaccuracies can be corrected in the software by moving or rotating the image into the fingerprint area. This is not the case with rotationally symmetrical components: Here, the rotational position remains unknown, which means that the fingerprints cannot be matched. Fraunhofer IPM has now improved the Track & Trace Fingerprint algorithm such that the fingerprint contains information from all rotational positions, while at the same time discarding the redundant information that arises in the process. This makes it possible to get a match while keeping up with the rate of production, even if the rotational position is unknown.
Components reliably identified
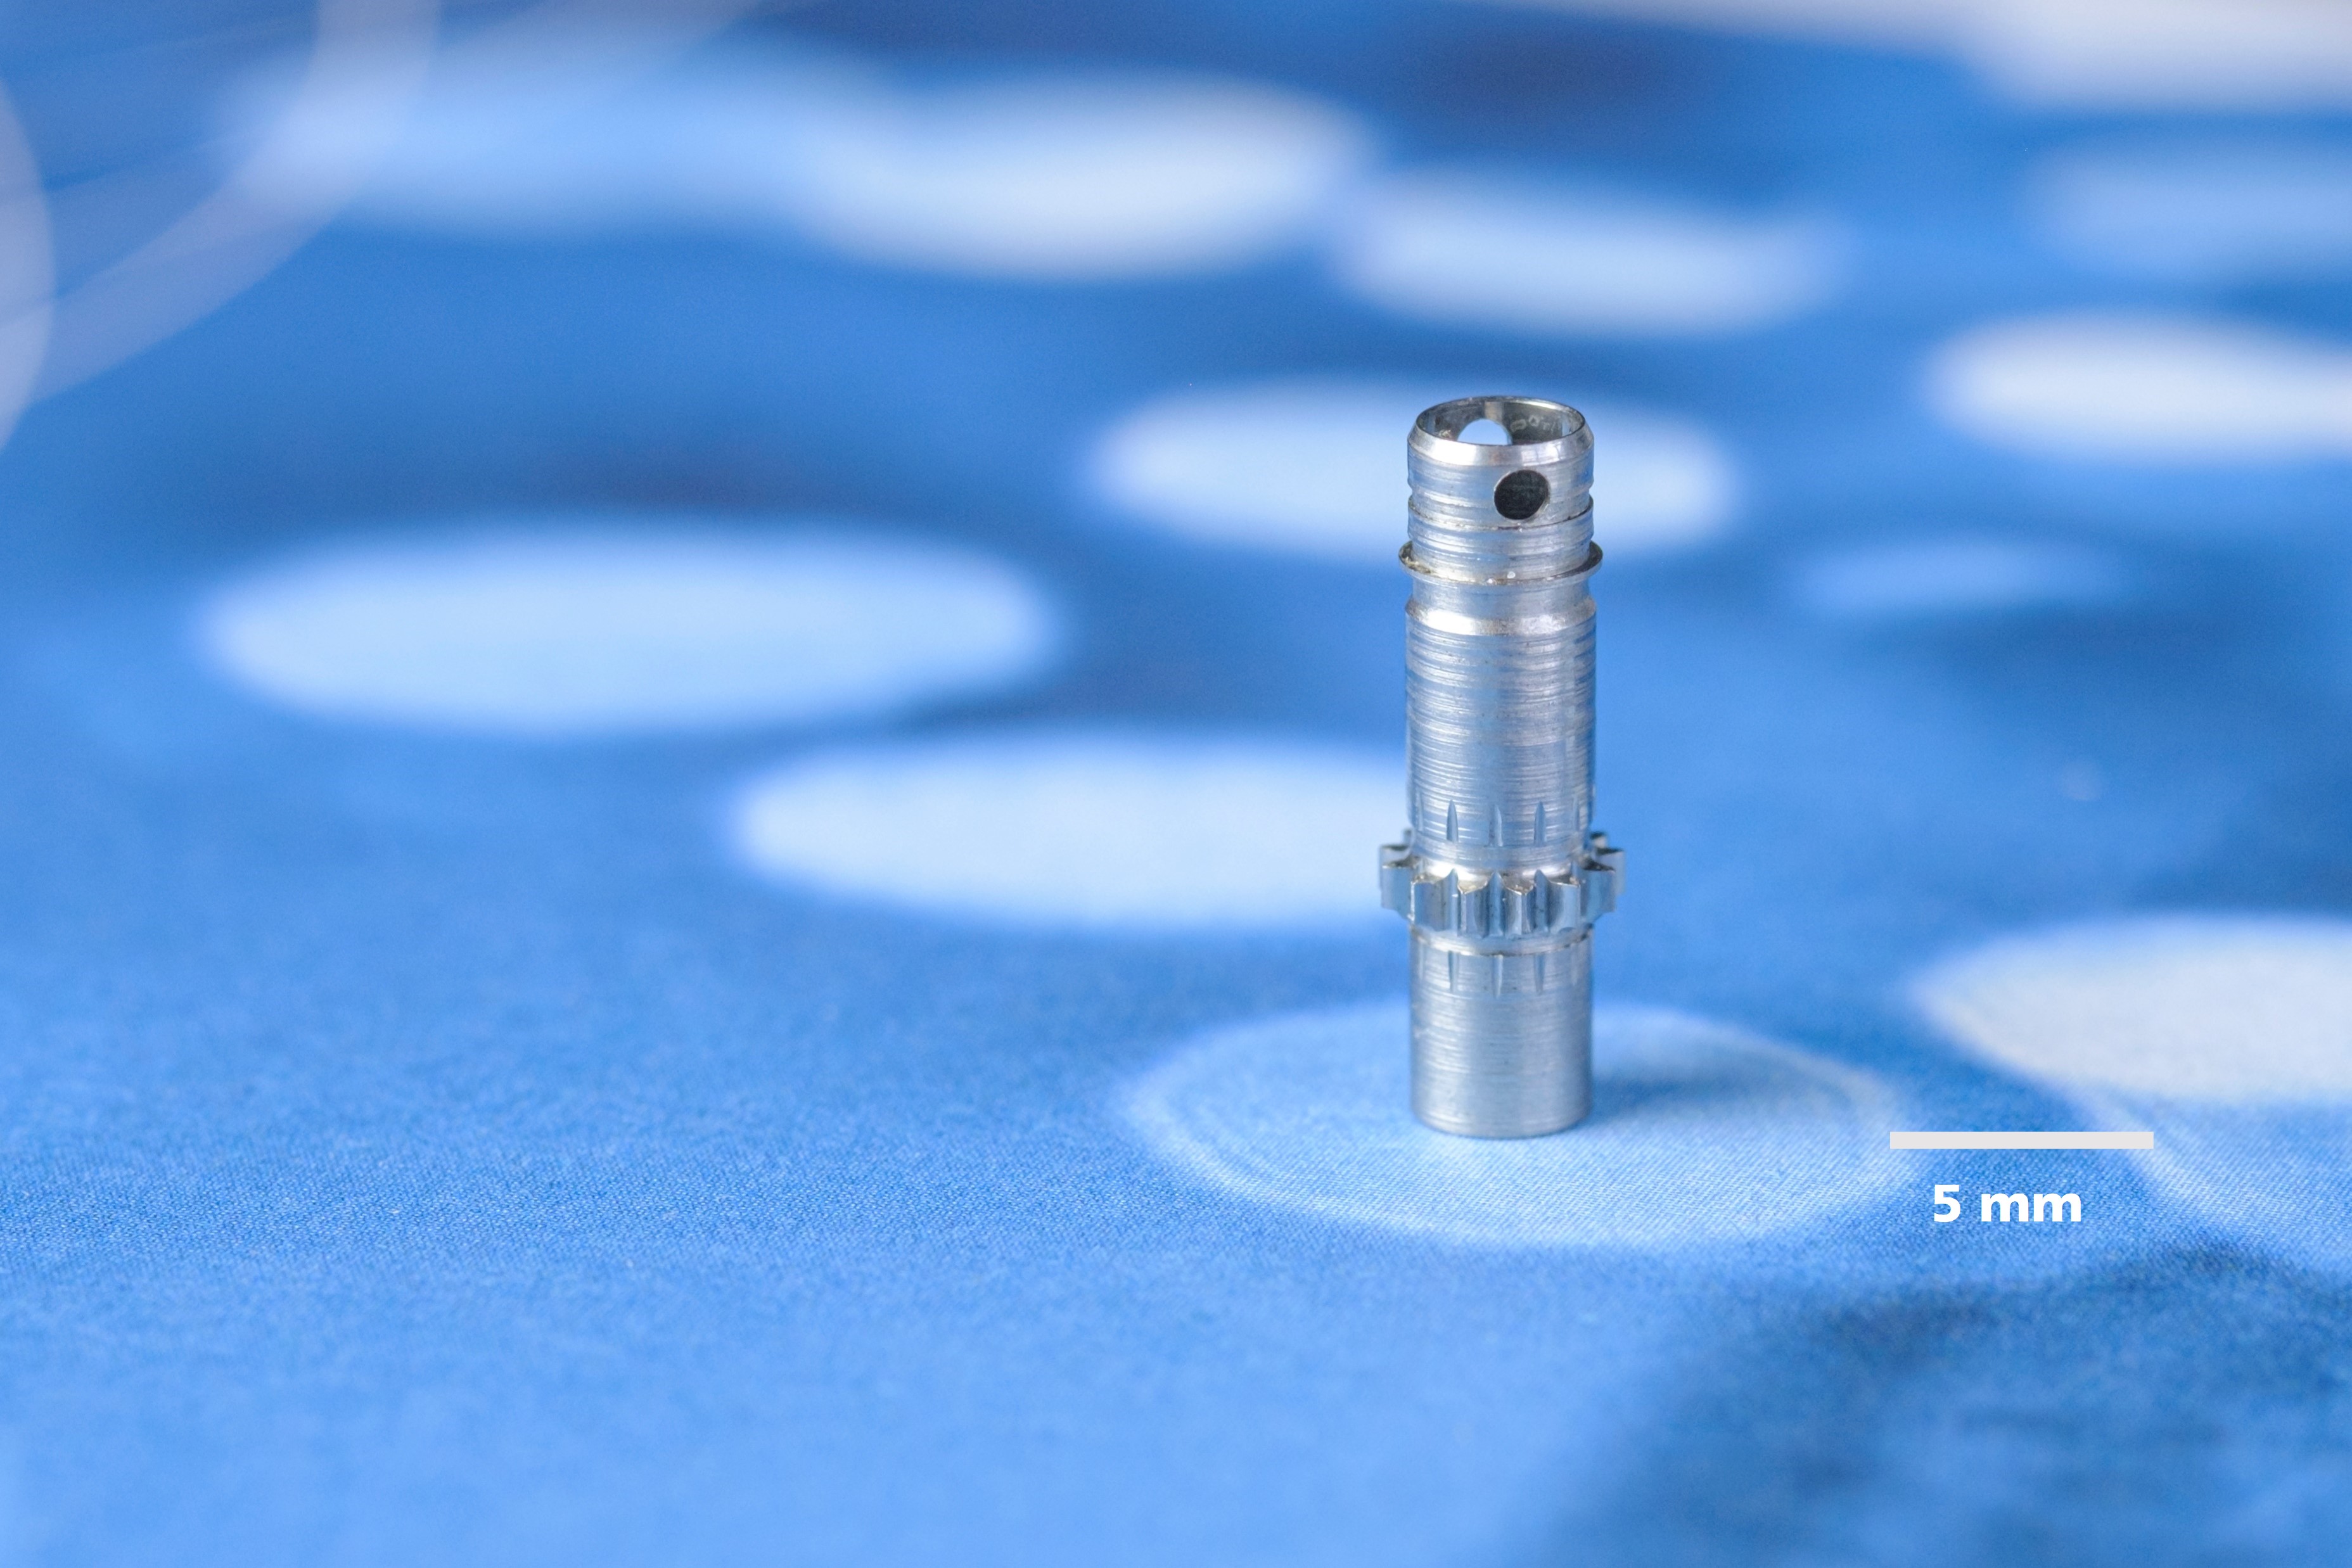
The fact that this works has been demonstrated using precision components from the project partners Robert Bosch GmbH and Sirona Dental Systems GmbH. In the case of Bosch, the team was able to achieve the near-line identification of nozzle needles for a high-performance injector on the basis of the front face of the cylinder-like components. In the case of the head shaft of a Sirona dental component, there was no front face available, so here the lateral surface was recorded using a specially developed reading system. A particular challenge was that the components are sanded and hardened, which changes the surface. Nevertheless, with the exception of a single badly damaged component, all components were reliably identified at the end of the project. This means that mark-free tracing based on the surface is clearly superior to alternative technologies such as the data matrix code.
The „ProIQ“ project
Adaptive, cross-process quality control cycles using photonic sensors for the identification and quality measurement of high-precision components Fraunhofer IPM
Project term Project funding |

![BMBF_CMYK_Gef_M [Konvertiert]](/en/press-publications/press-releases/component-traceability-adaptive-production-proIQ-project/jcr:content/fixedContent/pressArticleParsys/imagerow/imageComponent2/image.img.jpg/1658231287038/BMBF-gefoerdert-2017-en.jpg)