Optical strain measurement in material and component testing
Many parameters in material sciences can be attributed to changes in length or displacements. This applies to strain as well as crack contours and the opening and closing behavior of cracks in materials, and to gap variations between rotors and stators in machines. FE models are also used to simulate the displacement of surfaces that act as easily accessible measuring points. When designing structural components, strain and displacement measurements enable hypotheses to be tested during experiments under operational conditions.
A single sensor records various parameters
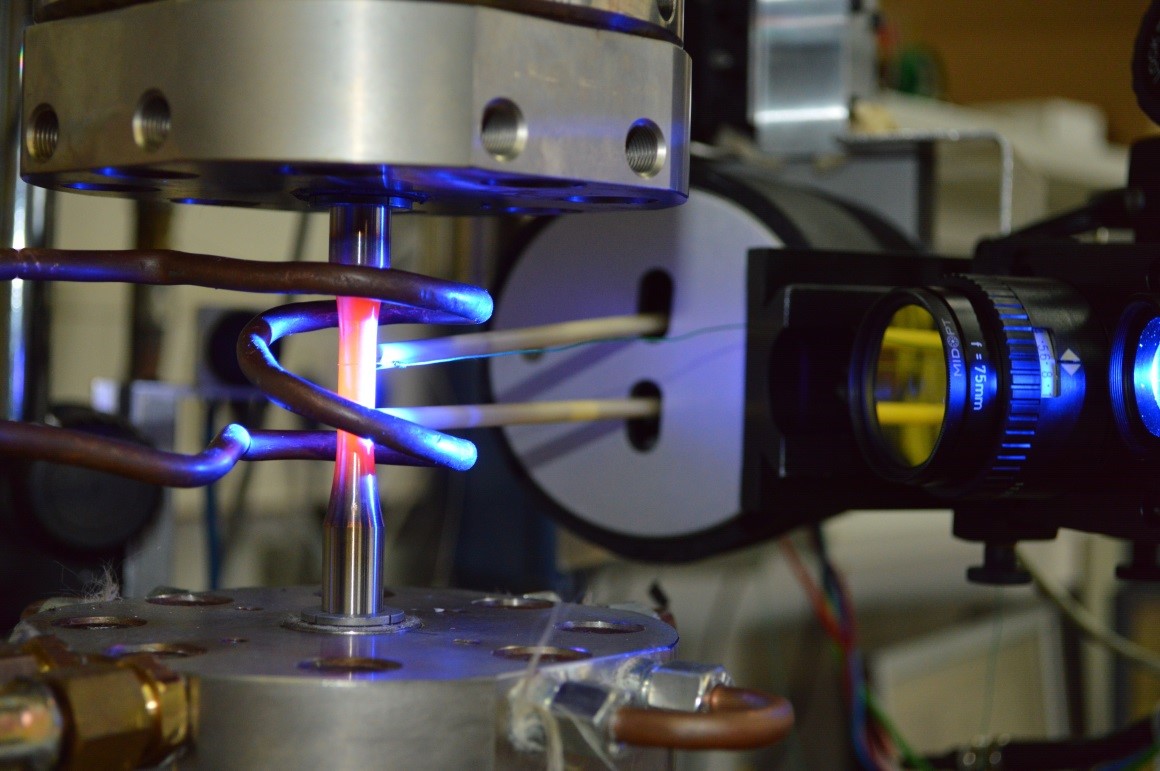
Fraunhofer IPM’s RODiS optical measurement system allows many of these parameters to be recorded using a single sensor. Customized measuring points can be set within a camera image, either as individual points or for full-field mapping.
State-of-the-art cameras resolve the microstructure of a workpiece surface while recording more than 2000 images per second. Simultaneously, graphics cards evaluate up to 200,000 DIC subsets per second. This enables the system to use the microstructure on metallic surfaces as correlation pattern in a marker-free manner. Therefore, a surface treatment with speckle paint is not required.
Thanks to specific measurement modes, the RODiS system is suitable for HCF and LCF tests, as well as fretting tests and static and dynamic load measurements in UHCF tests in resonance test machines with cycle frequencies up to 1000 Hz.
Integral strain measurements as with mechanical extensometers
The measurement accuracy meets the requirements of accuracy class 0.5 according to DIN ISO 9513. Turning points in cycle frequencies up to 10 Hz are well resolved in strain-controlled LCF trials with triangular strain signal according to ASTM E606.
Integration into test stands and automation
Just like with mechanical extensometers, the analog strain signal can be directly passed on to the test station’s PID controller. Other parameters such as force, displacement, or temperature are also recorded synchronously as analog signals.
The RODiS system features a TCP/IP interface for automatic operation in complex industrial test stands, such as those used in the aerospace industry. Coaxial illumination enables operation in pressure chambers and autoclaves.


