Fuel cell production
Digital-holographic 3D sensor for quality assurance in the production of metal bipolar plates
A digital holographic sensor checks the quality of metal bipolar plates for fuel cells with an accuracy of a few micrometers, enabling complete inline quality control for the first time. The sensor data provides the basis for a digital twin of the entire forming process. The digital twin should help understand the causes of recurring errors and optimize the production process.


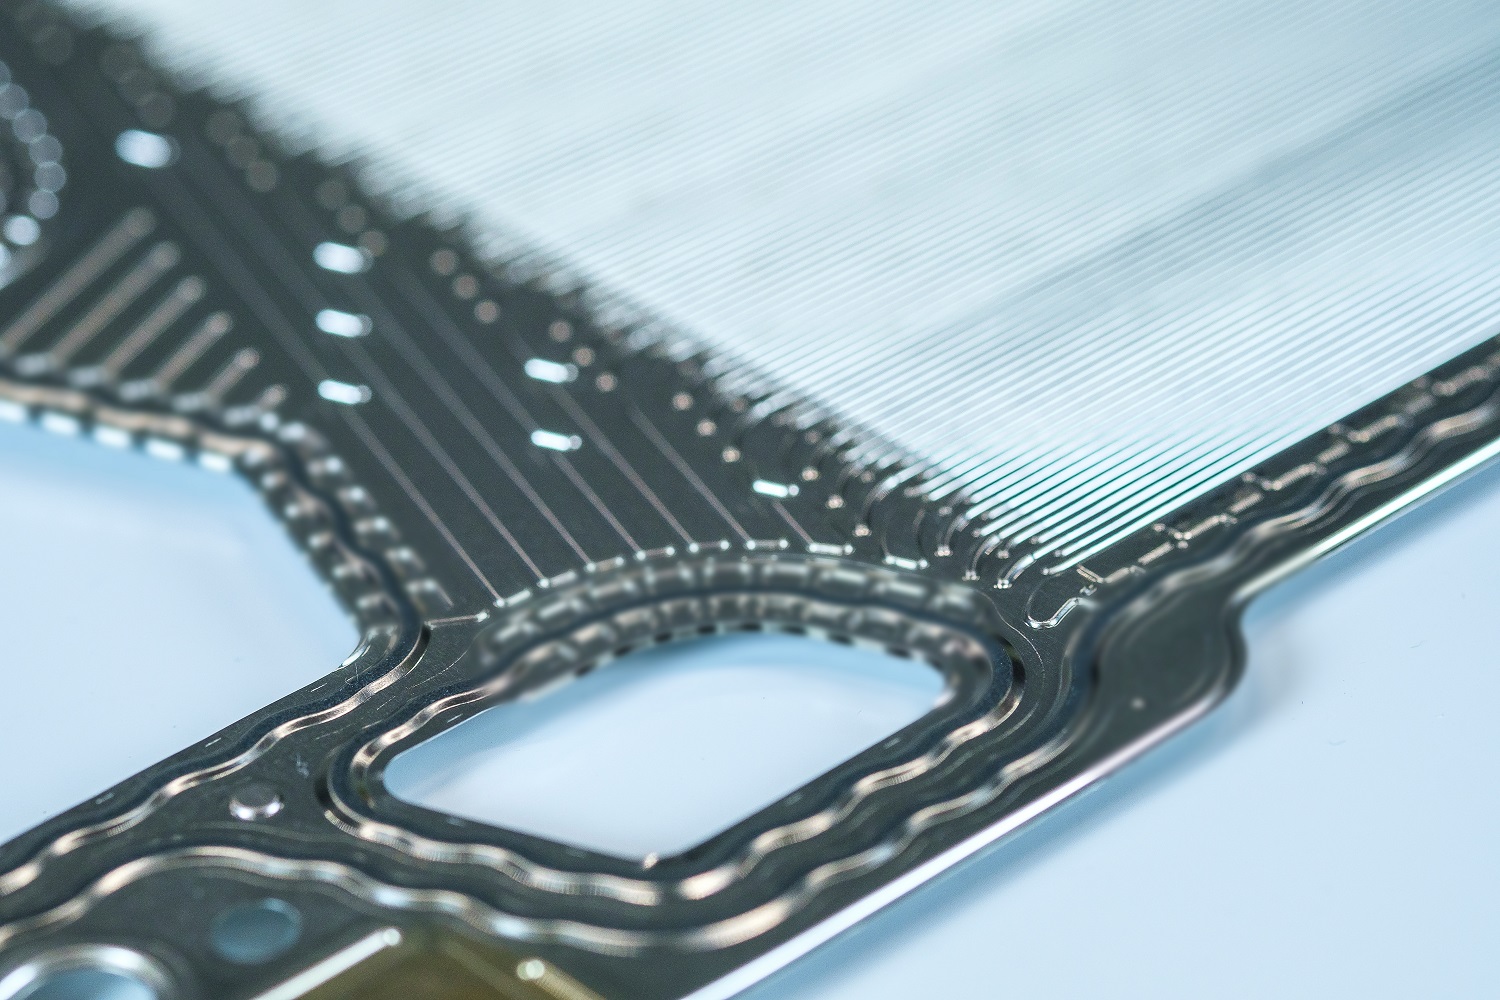
Bipolar plates are key components in fuel cells. With up to six hundred bipolar plates stacked in a cell, they provide the electrical connection as well as the distribution and discharge of reaction gases and water. Metal bipolar plates are embossed from metal foils on both sides that can be less than a tenth of a millimeter thick. Slight fluctuations in the process parameters during forming lead to typical defects such as tearing, wrinkling or bouncing effects, which impair the function and durability of the fuel cell. Until now, such defects could only be randomly detected by means of downstream quality control. As part of a cooperation between the Fraunhofer-Gesellschaft and the German Research Foundation, the Fraunhofer IPM, together with the University of Stuttgart and the industrial partners thyssenkrupp Automation Engineering and Chemische Werke Kluthe, has developed sensor technology and simulation methods that provide the basis for active process control and process optimization in the series production of formed bipolar plates.
Full surface measurement of large areas with micrometer accuracy
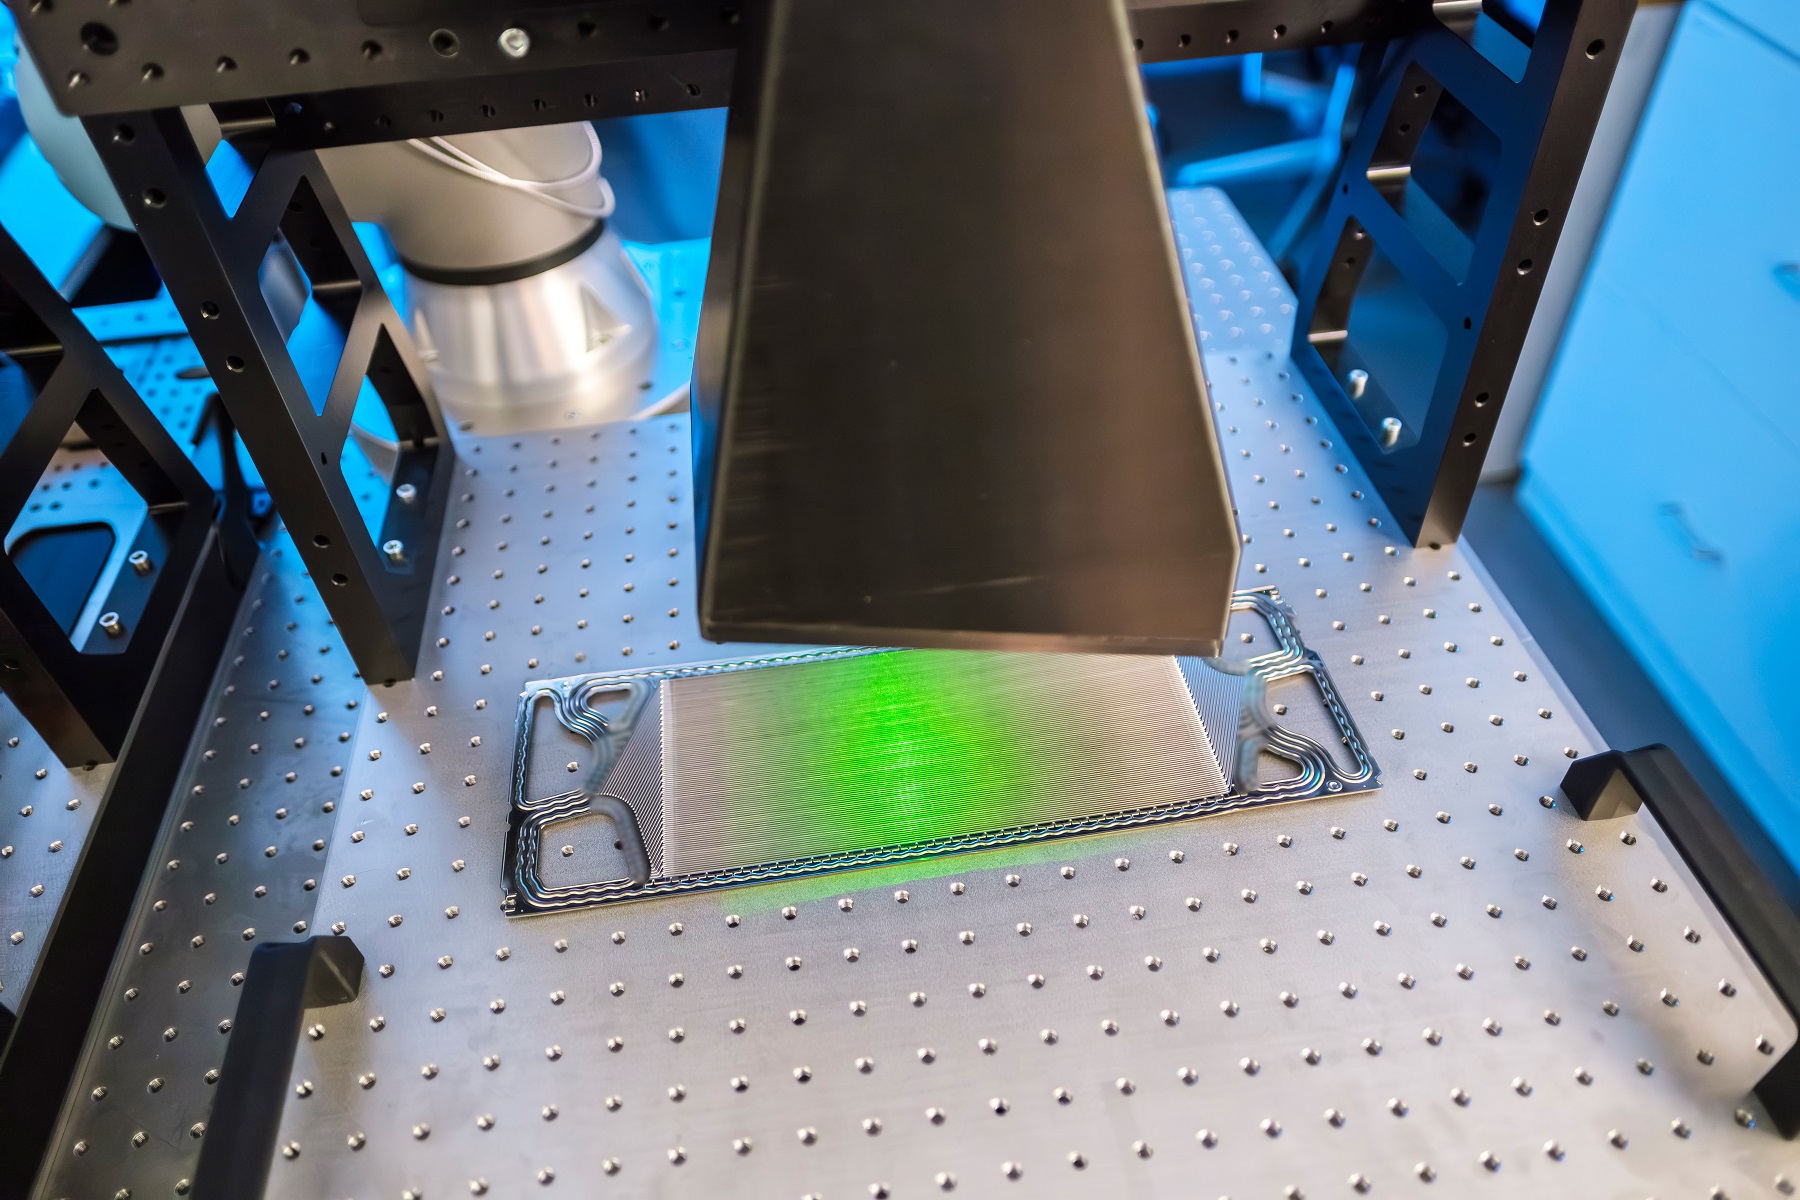
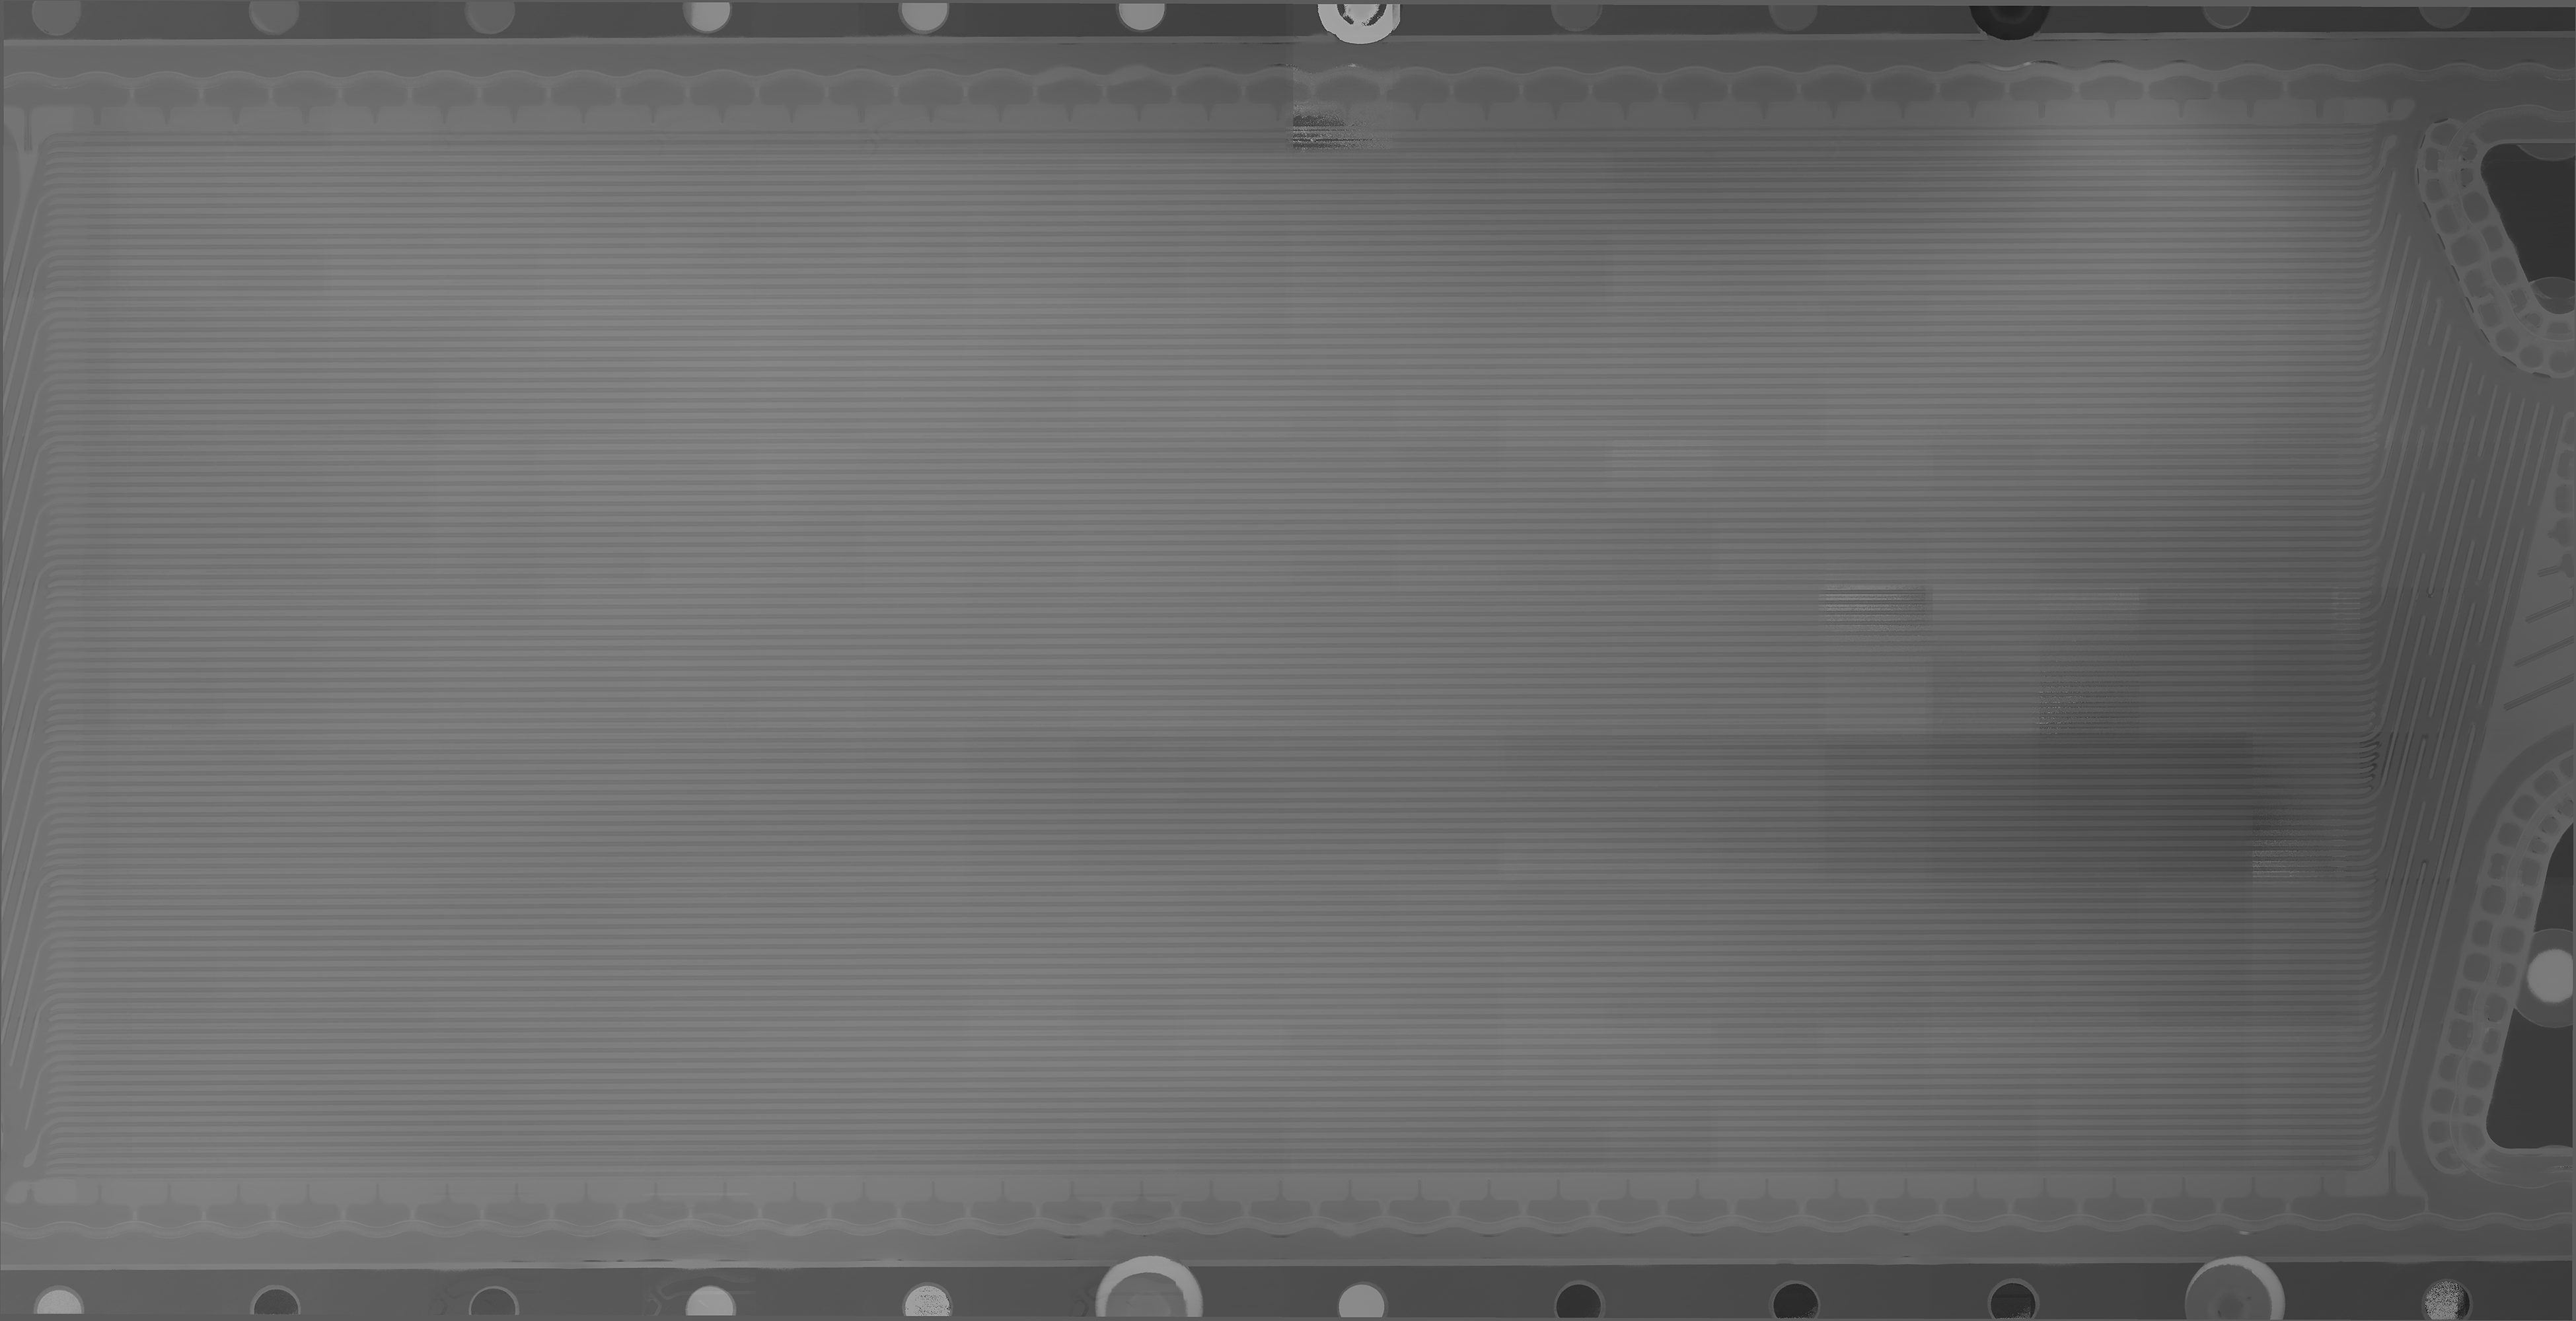
The digital holographic 3D sensor developed at Fraunhofer IPM records high-precision 3D data of the component surface and makes it available in real time for process control. To measure bipolar plates of different sizes, the researchers rely on a scalable system that can be expanded with additional measuring heads depending on the size of the component. Such a “matrix sensor”consisting of several sensor heads records the entire flux field of bipolar plates with a size of up to 400 mm × 150 mm in a single measurement pass. The process happens in less than a second and without moving the sensor. A Stitching algorithm combines the measurement data from the individual measuring fields into an overall image. The high-resolution measurement images show forming errors as small as a few micrometers. The system is currently being tested in a near-series environment at the Institute for Forming Technology IFU at the University of Stuttgart.
Learning from mistakes: Valuable data for process optimization
The measurement data recorded by the digital holographic sensor is not only intended to differentiate between good and bad parts, but also to improve the production process in the long term. To this end, the University of Stuttgart has developed a comprehensive simulation toolchain for the forming process, which incorporates the 3D measurement data. The aim is to systematically record and analyze recurring error patterns so that process parameters can be adjusted.
