Flawless, residue-free surfaces in many cases determine the quality of modern products. Contaminations on component surfaces – such as residues of drawing or release agents – can severely disrupt partial steps in the manufacturing process and render the product unusable. This is because modern, highly efficient joining methods, such as laser welding, laser soldering or gluing sometimes react very sensitive to contamination such as residues lubricants, corrosion protection or release agents. Likewise, incorrectly or incompletely applied functional coatings also impair further processing or the function of components.
F-Scanner: Fluorescence measuring system for large-area inline testing of surface cleanliness and coatings
With its F-Scanner family of devices, Fraunhofer IPM offers sensitive measuring systems that detect contamination or defects on surfaces directly in the production line. By using a combination of imaging fluorescence measurement and laser scanners, the F-Scanners detect organic contamination of just a few milligrams per square meter. The scanning systems enable 100-percent inspection while generating a high-resolution map that reflects the distribution of organic substances on the surface. Beyond the inspection of component cleanliness or coating this often also indicates issues in the production process.
Fluorescence reveals even the slightest impurities – and makes it quantifiable
Imaging fluorescence measurements based on the principle of the F-Scanner make use of a simple principle: Residues of oils, greases or wet chemical detergents, which are used for material processing or cleaning, exhibit fluorescence. Fluorescence measuring systems analyze the surfaces of components or production plants for residues of these substances without contact – whether it is a contamination or a functional coating. Thanks to imaging, the quantity and distribution of impurities can be easily located.
Various system concepts to match the task
F-Scanner 1Dc: inspecting cleanliness and coatings in motion
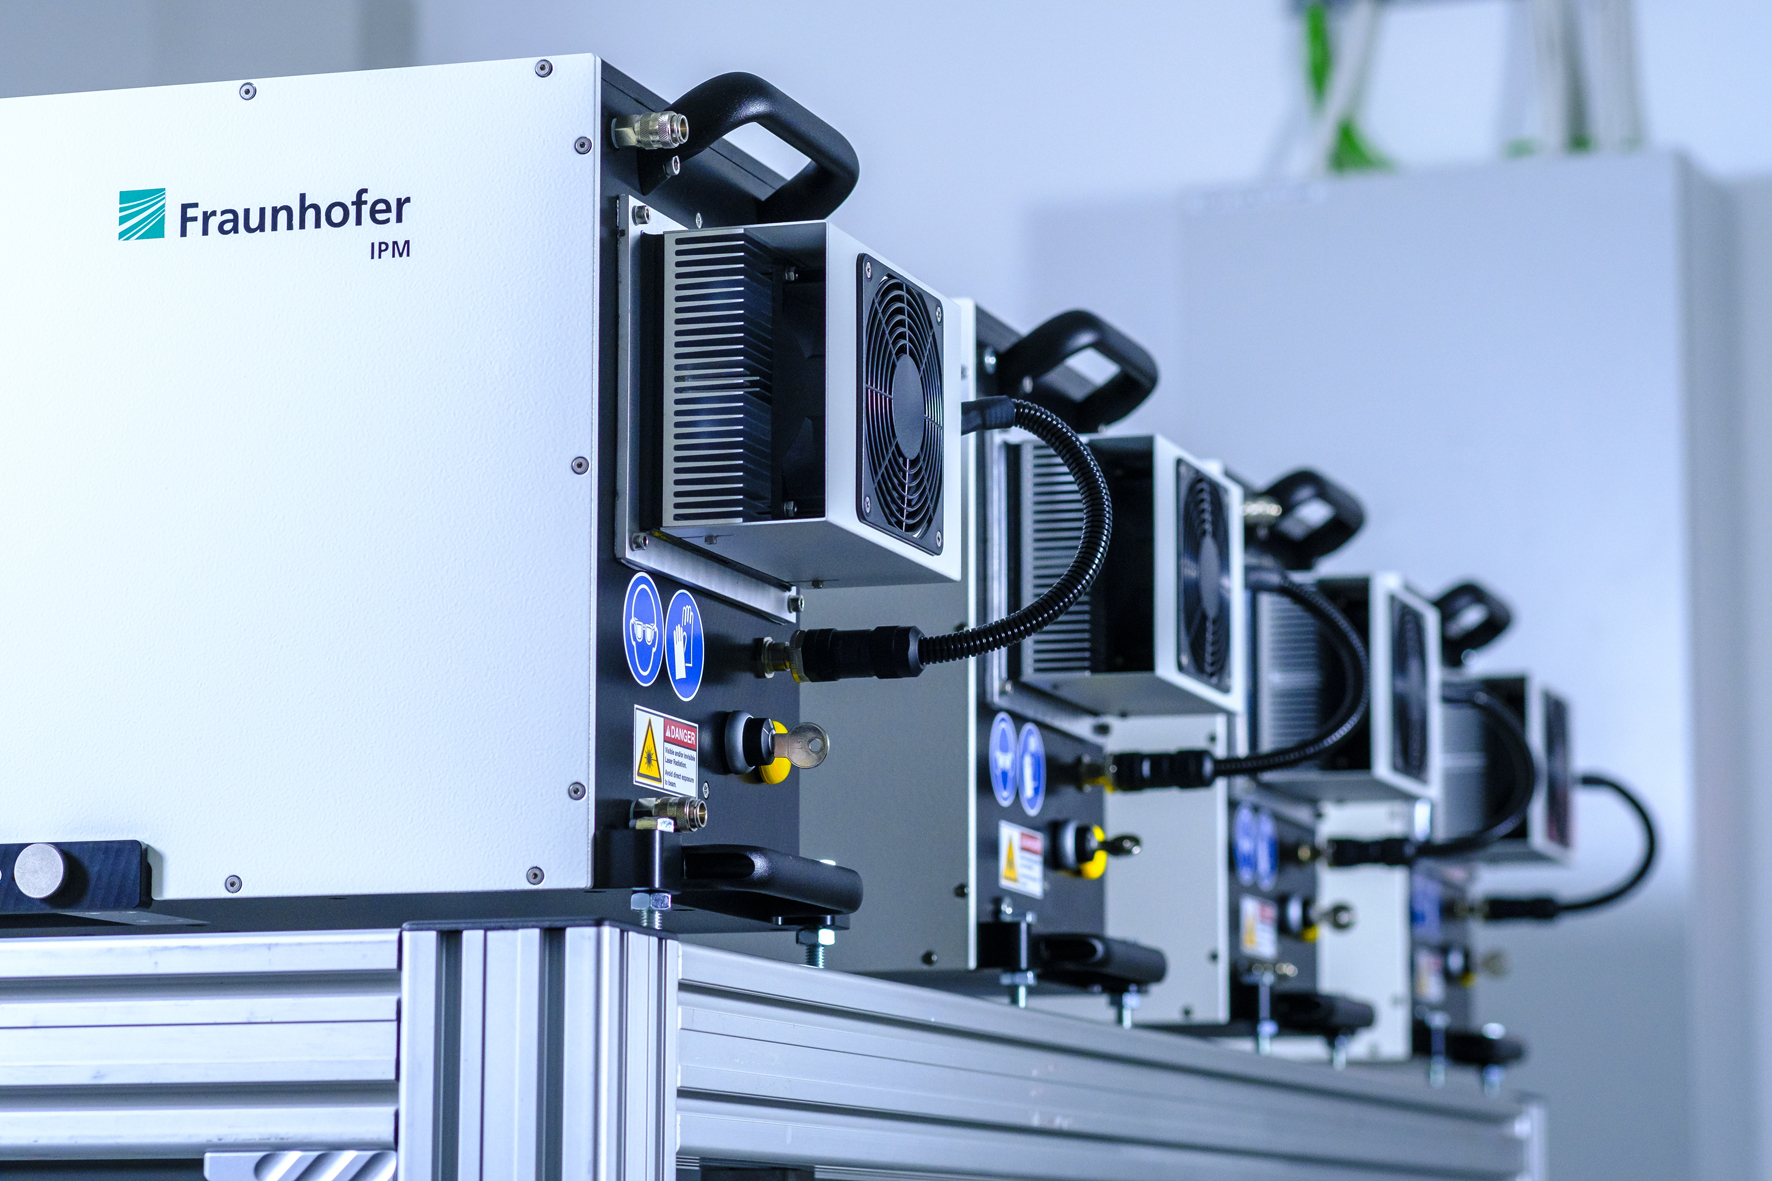
The F-Scanner 1Dc is optimized for measuring components or strip products. The inline inspection system rapidly scans the surface perpendicular to the direction of motion, e. g. on a conveyor belt. As an alternative, a robot or linear axis can be used to guide the compact scanner over the surface to be inspected. This allows components with complex geometries, such as structural elements or lightweight constructions, to be completely captured. The combination of line scanner and robot is also advantageous when dealing with large components. The F-Scanner 1Dc can record surfaces with millimeter resolution even at speeds of several m/s and is designed for use in industrial environments
F-Scanner 2D: 100 percent testing in quality assurance laboratories or inline
The F-Scanner 2D examines the component surface in two dimensions to evaluate the coating quality or cleanliness. This measurement indicates the location and extent of organic residues or coatings on the component surface. The F-Scanner enables the quantitative analysis of surface coverage, even for free-form 3D objects. The system is suitable for pre-inspection, for flexible quality assurance of batch components and for inline monitoring in production lines. The F-Scanner 2D is available as stand-alone-device and can also be fully integrated into production lines for 100-percent inspection in high-volume processes.


