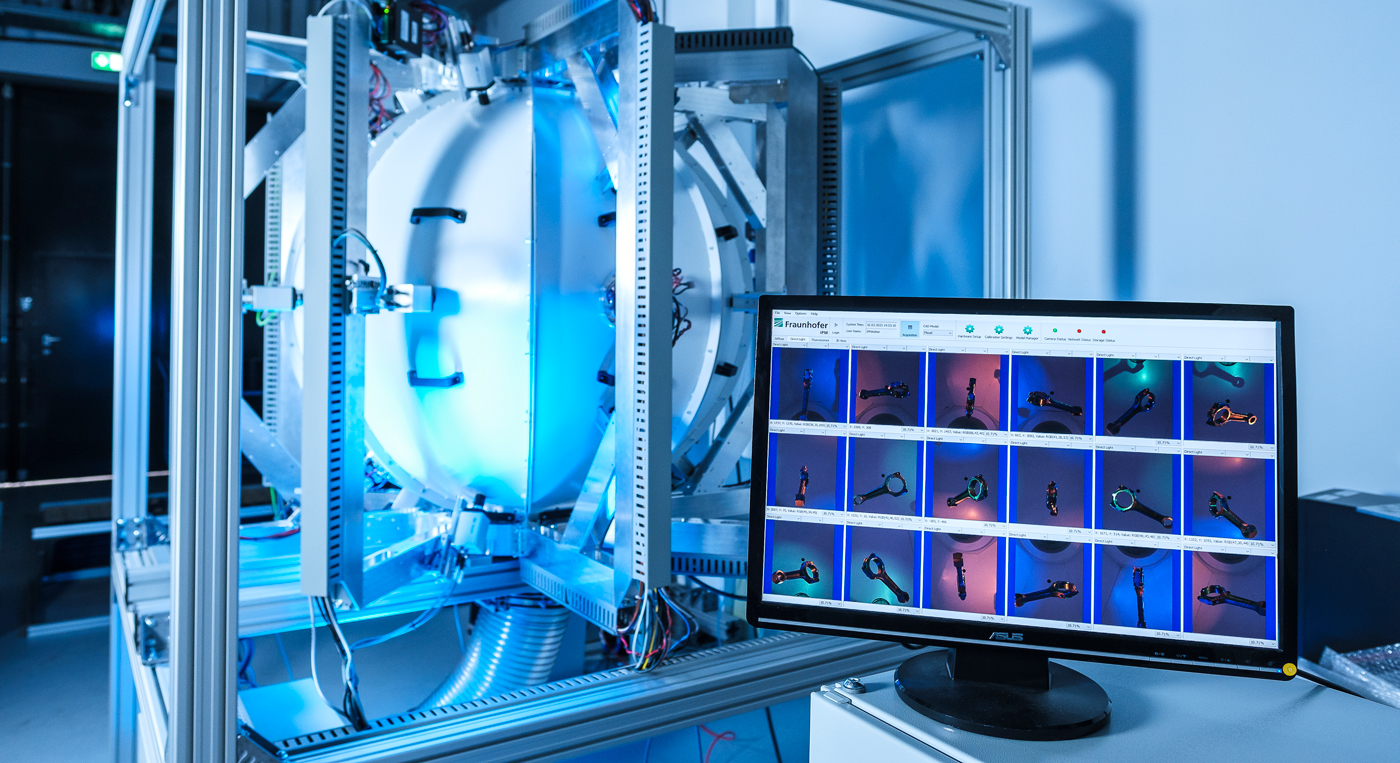
The demands on the surface quality of semi-finished products are constantly increasing. In particular, the ensurance of cleanliness or suitable coating properties is becoming more and more important. Often, it is even necessary to inspect all component faces, which until now required additional handling steps, since the components are typically positioned on a carrier or conveyor belt. Systems for component testing are thus faced with two major challenges: On the one hand, the variety of components increases handling costs. On the other hand, the requirement to qualify the entire surface of all parts during the production confronts automatic image processing with almost unsolvable problems.
Detecting coating thickness and impurities
That is why the Inspect-360° F inspection system follows a completely new approach: The multi-camera system inspects the entire component surface in free fall – entirely without handling and at the same time capturing an image of the component from all sides. This is how 100 percent of the components' surface are captured in a single recording step.
Organic substances fluoresce under UV-lighting in the visible wavelength range and can be detected by the cameras spatially resolved and with high sensitivity. Impurities such as oil drops and residual filmic coatings are captured quantitatively. Layer thickness or mass coverage can be exactly specified.
The system inspects the entire surface of components and bulk material such as forming, stamping, forging, or cast parts. There is virtually no restriction regarding the components' complexity, provided that their surface is optically accessible. Even with a high diversity of parts, there is no need for mechanical adjustment, which is usually complex and expensive.
Inspection of geometry and surface properties
For the inspection of dimensional accuracy and surface defects, Inspect-360° F can be combined with the Inspect-360° MP and Inspect-360° HR inspection systems from Fraunhofer IPM. This way, components are fully inspected for cleanliness, surface properties, defects, and dimensional accuracy in a single measuring run.
