Hannover Messe
Inline quality control during cold forming of precision parts
An optical inspection system inspects the geometrical dimensional accuracy and surface quality of cold-formed components during production for the first time – to within a few hundredths of a millimeter. This technology allows components with low manufacturing tolerances to be produced by forming rather than energy-intensive machining. Fraunhofer IPM will be presenting the demonstrator at HANNOVER MESSE.


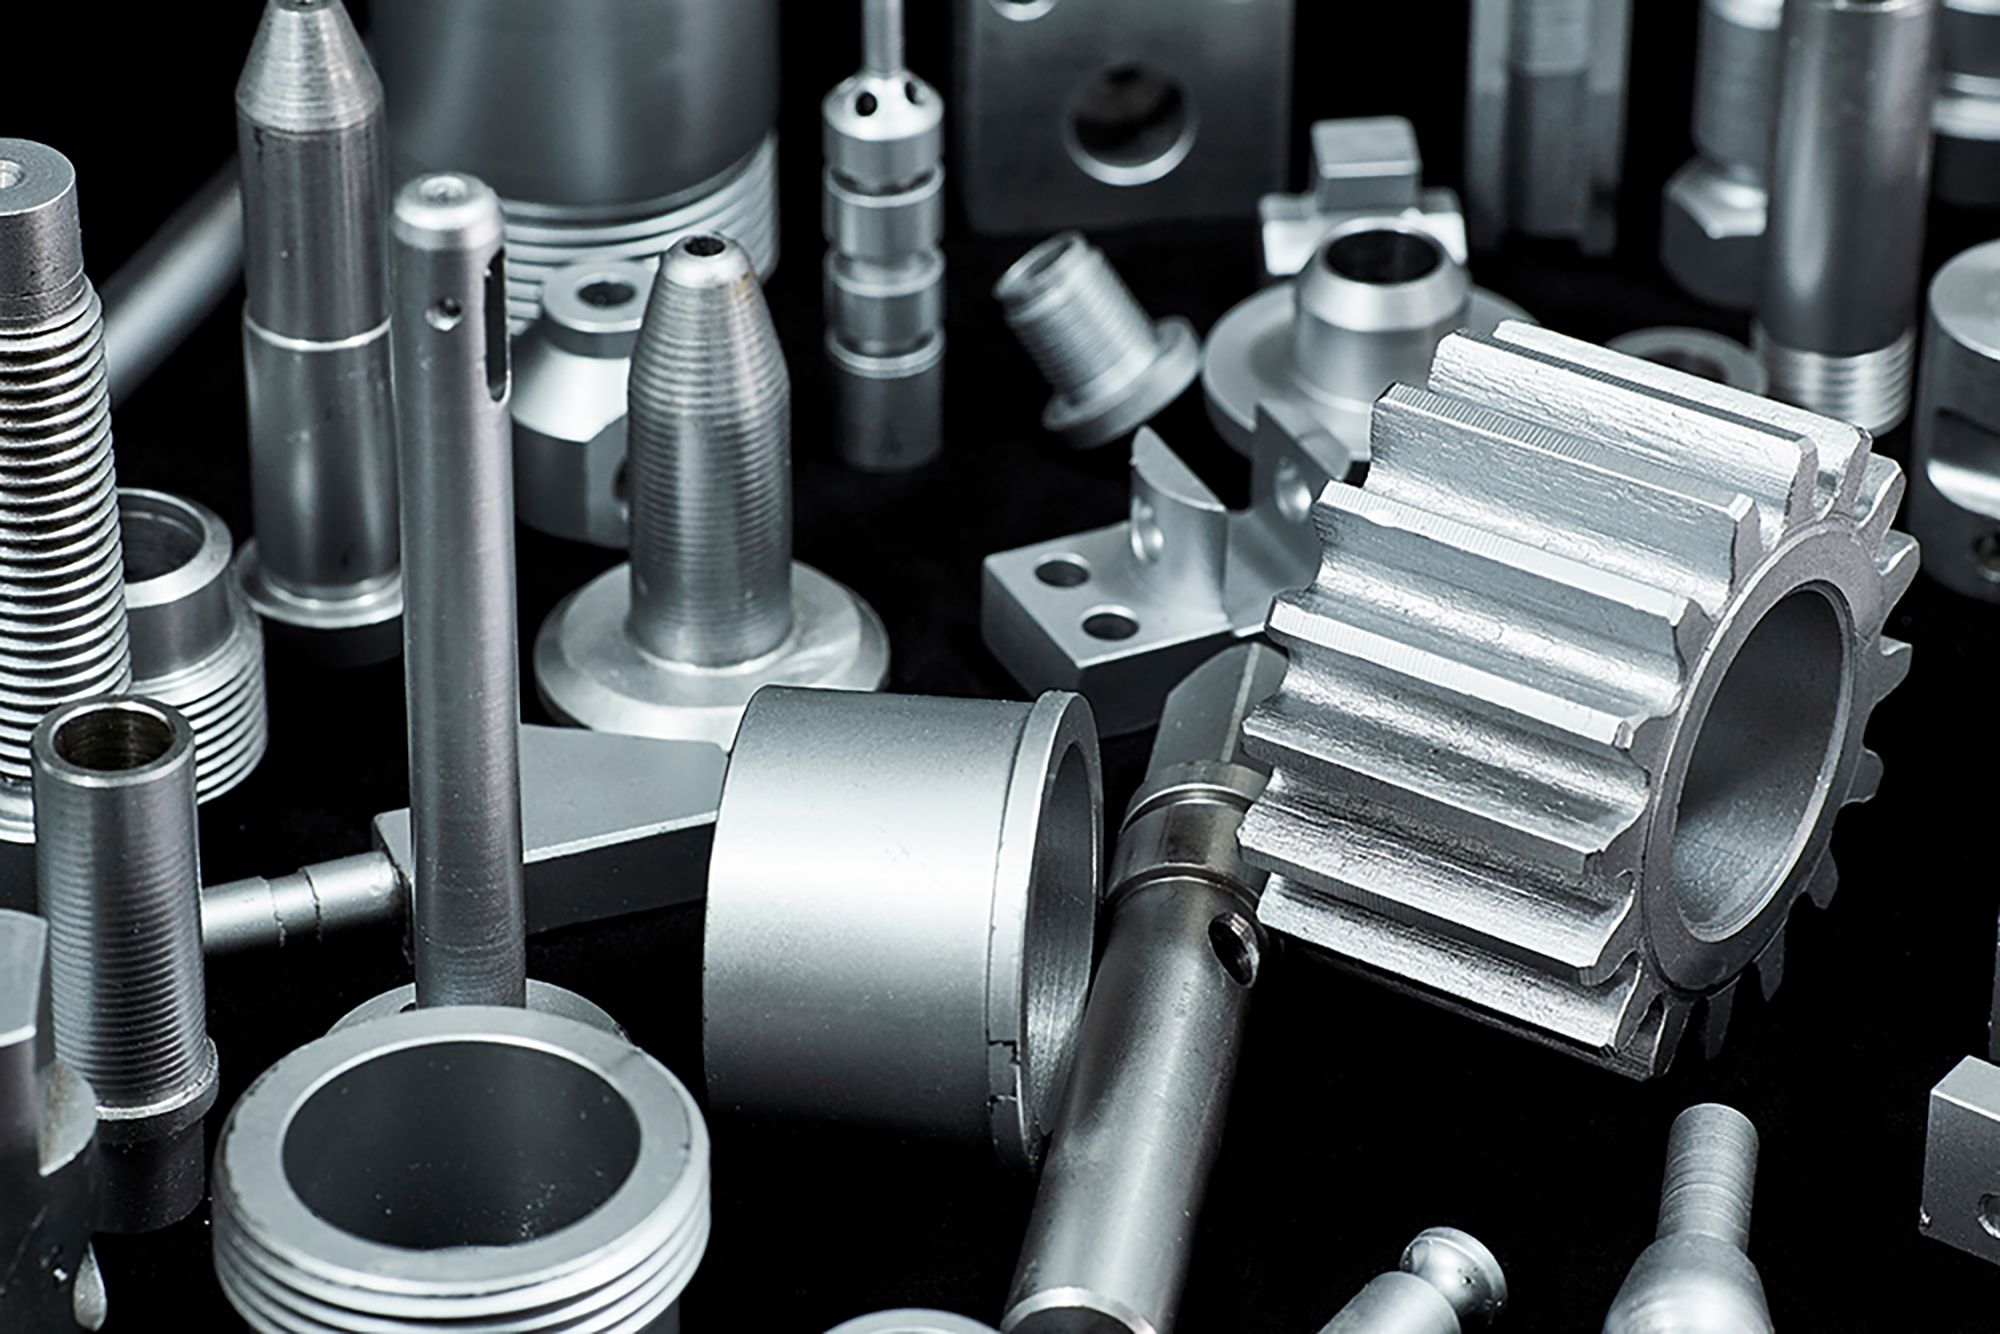
When it comes to producing metal components, forming has significant advantages: Compared with machining, forming a component, especially by cold forming, requires less than half of the energy. A further advantage is that formed parts have excellent mechanical properties. However, for precision components, the manufacturing accuracy of forming is often insufficient; milling, which is more precise, is used instead. Expanding the applications for forming requires high-precision inline quality control.
100 percent free-fall inspection – with no additional handling
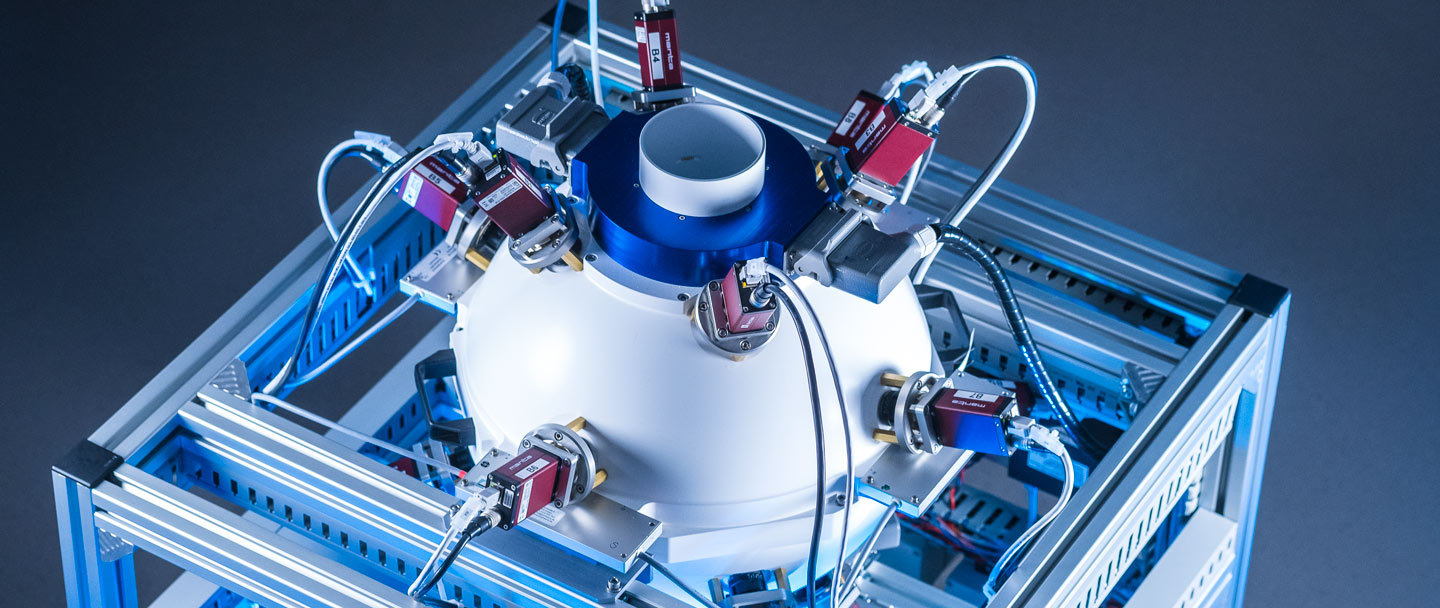
An optical free-fall inspection system, developed as a part of a research project funded by the German Federal Ministry for Economic Affairs and Climate Action, inspects cold-formed components for geometric dimensional accuracy and surface quality with accuracies in the range of a few hundredths of a millimeter. The system is intended to be used at the end of multi-stage forming processes. The components are transported individually into a hollow sphere via a conveyor belt every second without additional handling. Sixteen cameras, evenly distributed over the surface of the sphere, simultaneously record the component as it free falls through the sphere, so that every section of the part is imaged at least once. The system inspects components with an edge length of 0.5 to 6 cm. Fast data evaluation enables immediate feedback into the production process to adjust process parameters and reduce waste. This measurement technique helps to more quickly adapt the process for run-in processes or changes in material properties, such as coil changes.
Component surface fingerprint for marker-free traceability
In addition to quality control, the researchers plan to further develop the system in such a way that the cameras capture the specific surface texture of the component in a defined position in high resolution. The image will then be saved as a fingerprint in a database to ensure component tracking and tracing. Later, when the surface texture of the component is captured again at the same position, it can be identified from the fingerprint, and the process parameters and quality characteristics can be matched to individual components. The ability to track and trace creates the basis for self-learning optimization of forming process.
Fraunhofer IPM and SOTEC will jointly be presenting a demonstrator of the inline measurement system at HANNOVER MESSE from April 22 to 26, 2024 (joint booth of the Federal Ministry for Economic Affairs and Climate Action BMWK, hall 2, booth A18).
Further Information
The GUmProDig project The GUmProDig project (“Ganzheitliche Umform-Prozess-Digitalisierung zur Qualitätssteigerung von Leichbauteilen und ressourcenefficiente Fertigung” – “Total Digitalization of the Forming Process for Improving the Quality of Lightweight Components and Ressource-efficient Manufacturing”) was funded by the BMWK as part of the “Technology Transfer Program Lightweight Construction”.Project partners: Fraunhofer IPM (project coordinator), IFU Universität Stuttgart, Räuchle GmbH & Co. KG, Visometry GmbH, SOTEC Software Entwicklungs GmbH + Co., Mikrocomputertechnik KG, MARPOSS Monitoring Solutions GmbH (associated partner) |

