Fluorescence Measurement Technology
F-Scanner enables optimized aluminum stamping
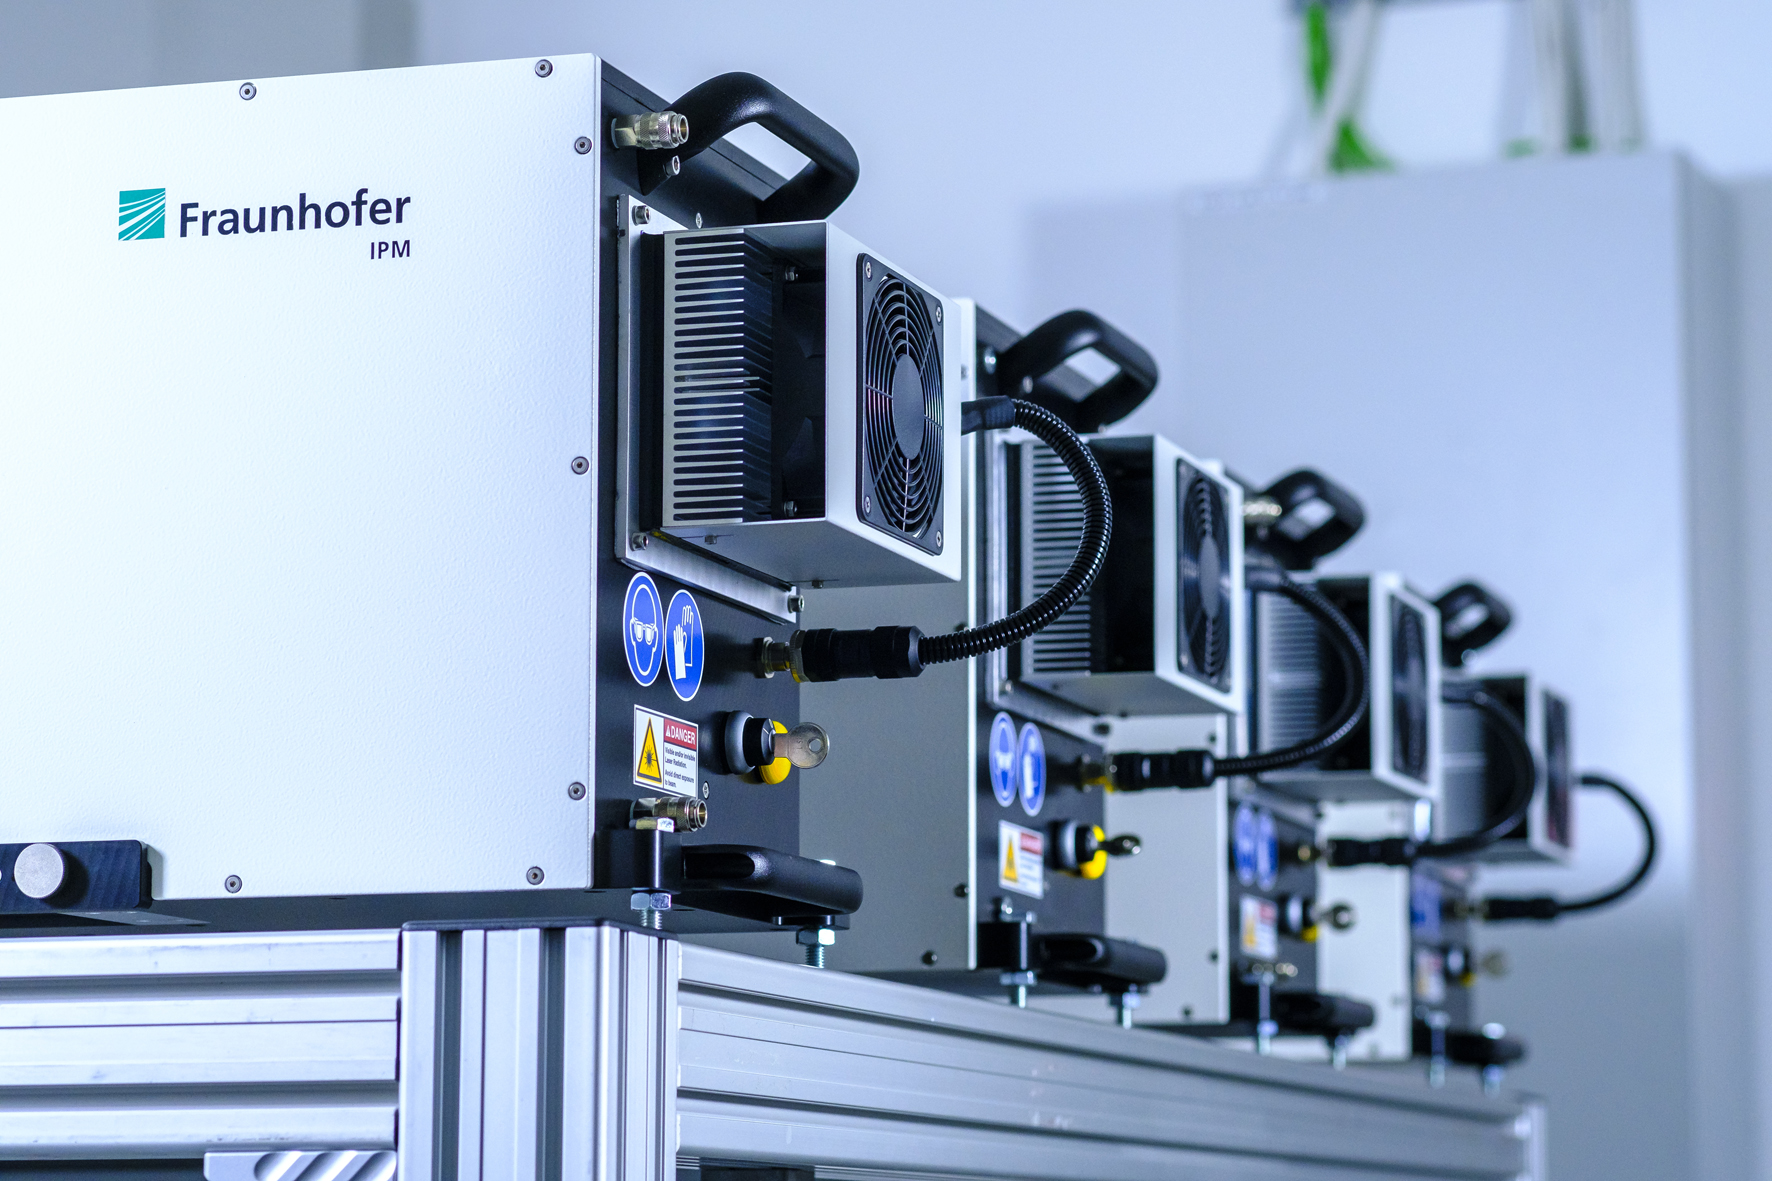
In car body manufacturing, it is far more difficult to process aluminum blanks than their steel counterparts. One key parameter determining the quality of metal forming is the thickness of the lubrication layer on the blank surface. The F-Scanner fluorescence measurement system is the only device capable of performing spatially resolved measurements of this layer thickness during production. Four F-Scanners have now been delivered to a US automobile manufacturer where they will be used to ensure the quality of car body parts.


With their low weight and resistance to corrosion, aluminum body parts have significant advantages over steel parts. However, forming aluminum sheet metal in stamping plants, is far more challenging than forming steel sheets: Aluminum lacks the ductility of steel, and its abrasive oxide layer leads to increased tool wear. For aluminum forming to work perfectly, a seamless distribution of the lubrication used for processing must be ensured. In future, the US car manufacturer will be able to monitor the desired lubrication coverage directly in its stamping plant with the aid of the F-Scanner developed by Fraunhofer IPM. No fewer than four F-Scanner units are set to be integrated into a press line over the coming weeks.
Full-surface mapping of lubrication distribution at typical processing speeds
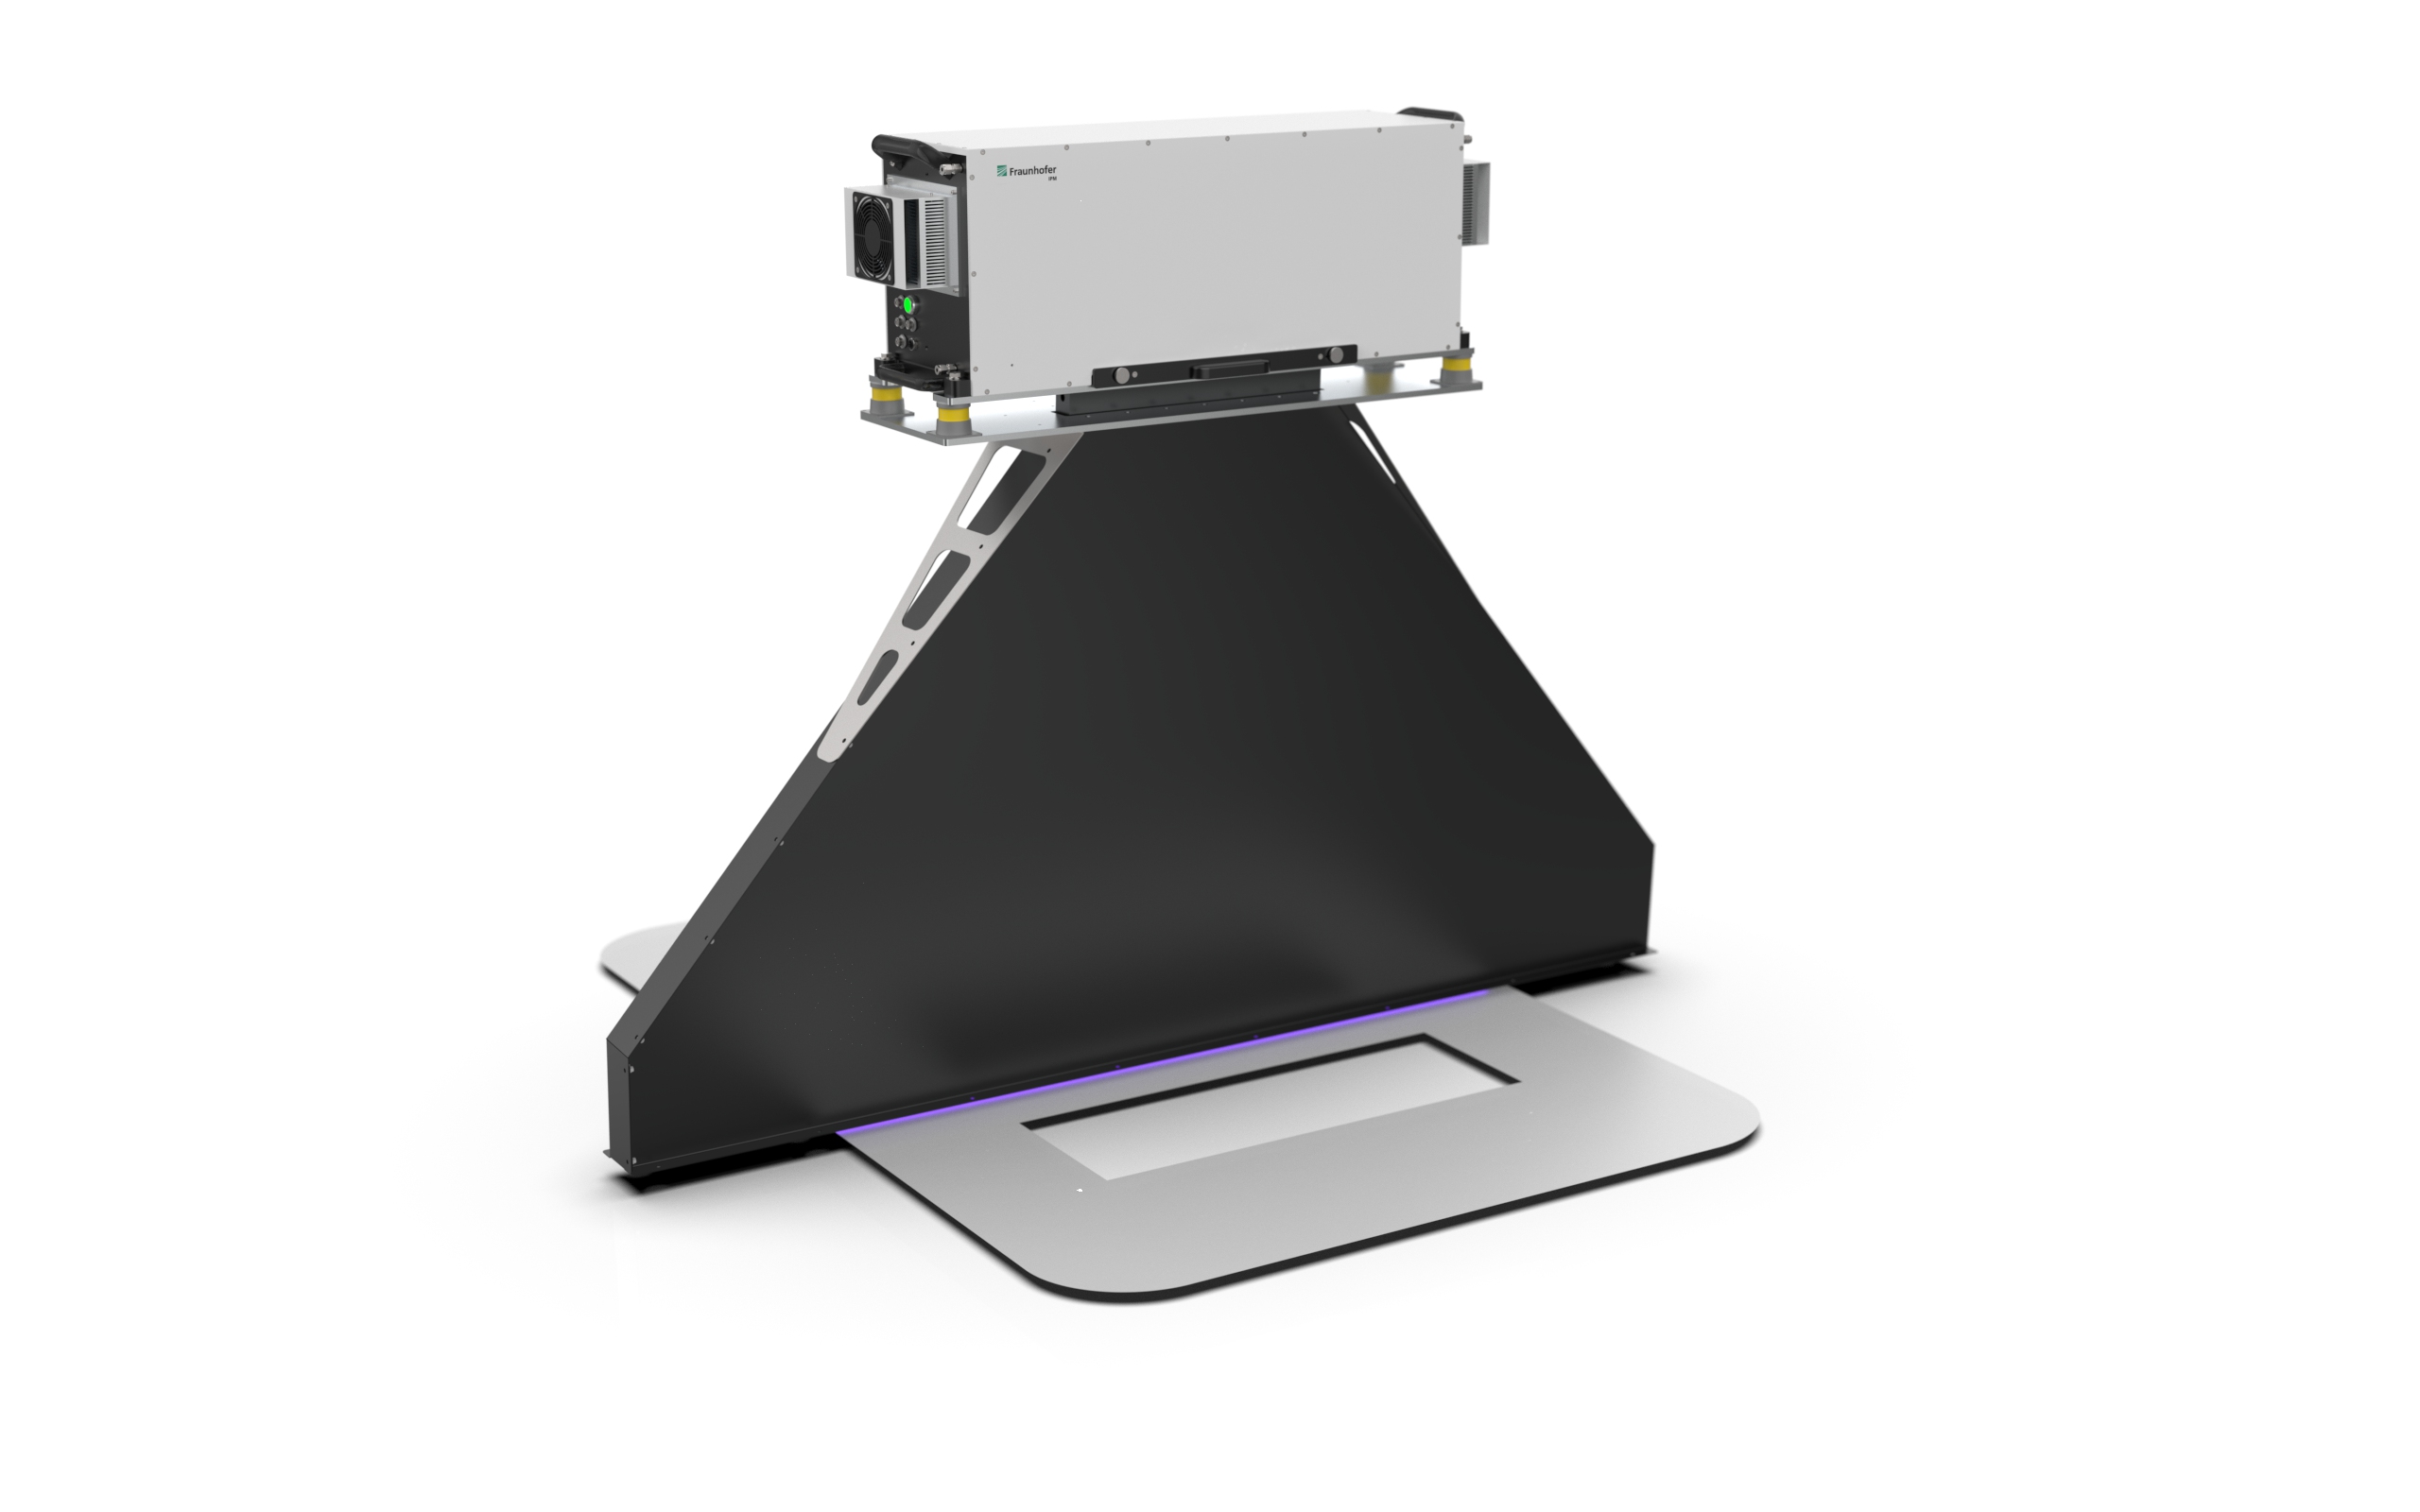
Two of the four identical F-Scanners are placed on either side of the belt system, where each unit maps how the lubricant is distributed across a width of two meters. These measurements are performed with millimeter-range spatial resolution at processing speeds of up to 2.5 m/s. Each of the four F-Scanners uses a laser beam to scan the blank surface, which is up to four meters in width, at a rate of 400 lines per second, and detects the varying fluorescence intensity depending on the distribution of lubricant. The entire measurement system generates and processes 160 million data points per second. The result of such a comprehensive fluorescence measurement is a complete, high-resolution map of the lubrication distribution for each individual blank – all perfectly documented for quality assurance purposes.