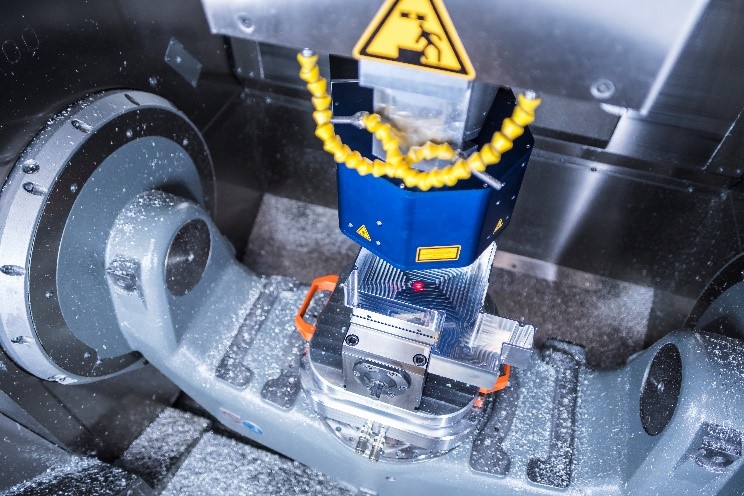
Starting research project MIAME
Optical Coordinate Measuring System for Integration into the Production Line
On July 28, Fraunhofer IPM and Fraunhofer IAF, together with the "Optical Systems" chair of the University of Freiburg, launched the MIAME project, in which they aim at developing the world's first optical coordinate measuring machine for the full-surface measurement of large objects on a meter scale. The system will be used to measure components in the production line quickly and with accuracies in the sub-micrometer range.

Coordinate measuring machines are used to verify the dimensional accuracy of components with very high precision. This makes them an important tool in production measurement technology and thus in quality assurance, especially in innovative industries such as mechanical engineering, automotive or aerospace. State of the art are tactile coordinate measuring machines. These systems are equipped with a measuring head that probes the component surface at various points while being guided by a traversing and positioning system. The measured spatial coordinates provide information about important geometric parameters such as lengths, flatness or angles. Measurements with tactile coordinate measuring machines are typically very time-consuming. They are carried out in separate measuring rooms and are therefore only possible on a random basis.
Capturing up to 500 billion 3D points per second
The goal of the three-year MIAME research project is to develop an optical, non-contact coordinate measuring machine that can measure complex shaped components of sizes in the meter range with sub-micron precision. Measurements can be carried out in the production line over the entire surface of the object. A digital-holographic sensor with a novel laser light source based on whispering gallery resonators is at the core of the development. The light source should be able to be switched quickly and precisely between different wavelengths, which in combination with digital multi-wavelength holography for the first time enables interferometric measurements with up to one meter unambiguity. Integrated into a multi-axis handling system, the sensor system will be able to detect up to 500 million 3D points per second – with a single point accuracy of better than 0.1 µm and an unambiguity range of up to 1000 mm.